EasyLash Installation
Boat Lift and Canopy utilizes an exclusive EasyLash attachment system on all of its replacement canopy covers.
The Easy Lash system is the quickest, easiest way to securely attach your replacement canopy cover to the canopy frame. Easy Lash is a woven webbing 3 inches wide with 1.25 inch slits hot knifed every 3 inches with a repeating slit. These thermal cut holes take the place of d-rings and grommets and allow the installer the flexibility to install attachment hardware and bungee when, and where they like. Easy Lash has been tested and proven to be 25% stronger than the leading competitor. Securely fasten awnings, boat lift canopies, boat covers, tents, curtains without the need of tools or dies to set grommets.
How to Easily Attach a Boat Lift Canopy Cover
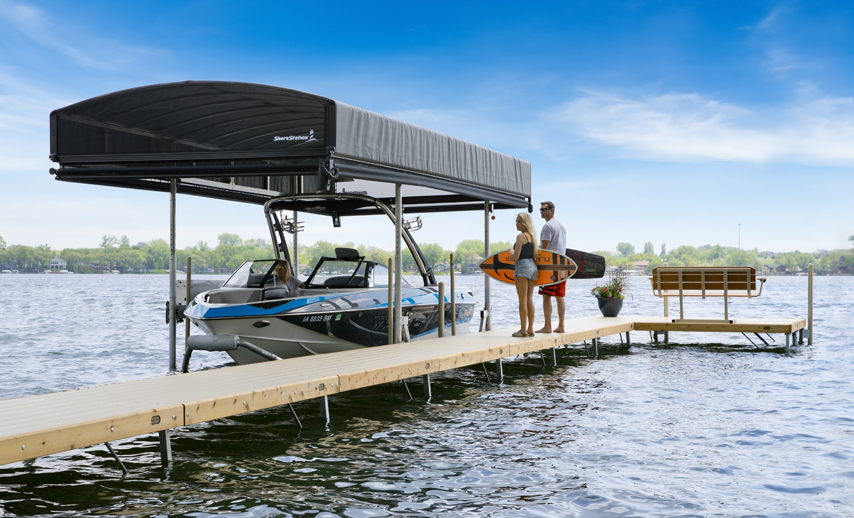
If you live on a lake and own a watercraft, chances are high that you keep your boat protected from the elements with a boat lift. With proper care, boat lifts and their covers are important apparatuses that extend the life of your boat and upholstery. In this post we will provide tips on how to attach and install a boat lift canopy cover for top lift manufacturers: ShoreMaster, Hewitt and Shore Station.
Before you begin, you need to retrieve the canopy cover from out of season storage. When stored, the canopy should have been completely dry, carefully folded then stored in a dry area to ensure no mold or mildew can grow. If your canopy cover was not cleaned at the end of last year’s lake season, check out our cleaning steps.
When installing a boat lift canopy cover we recommend calling a friend for help as it’s a two person job. If you don’t have a neighboring lake friend already, throw a BBQ or go out and make one. Having a trusted friend to watch your property will make your life a lot easier and give you peace of mind during harsh winter months.
If this is the first time installing a canopy on a new boat lift frame, be sure to measure the lift ensuring the frame’s dimensions are all square. You don’t want to get ¾ of the way through the install to realize the lift awning is crooked.
Next, roll the awning canvas long ways on top of the frame’s center line. Ensure the awning is centered and there is equal amount of canvas overhang on all 4 sides. Attach a width end of the canopy completely to the frame with bungee attachments. Then move to the opposite end and attach the other short side. Continue to attach a bungee every 2 feet around the perimeter of the frame until you complete the final 2 corners at the same time. Our toggle bungee fastener tips are coming up next.
We recommend using multiple toggle ball for attaching canopy covers instead of one long attachment cord. This way if a strong wind breaks a single toggle strap there will be plenty of other attachment points remaining. We provide bungee fasteners on all of our replacement boat lift canopy covers.
Attachment Steps for Bungee Ball Systems
(Beach King, FLOE, Hewitt, Pier Pleasure)
Tie down cover using 10” bungee ball
Feed the end of the bungee in the canopy’s D-ring and loop through
Wrap bungee ball around rail and lift ball through loop to secure
Continue this process around the frame until the cover is secure

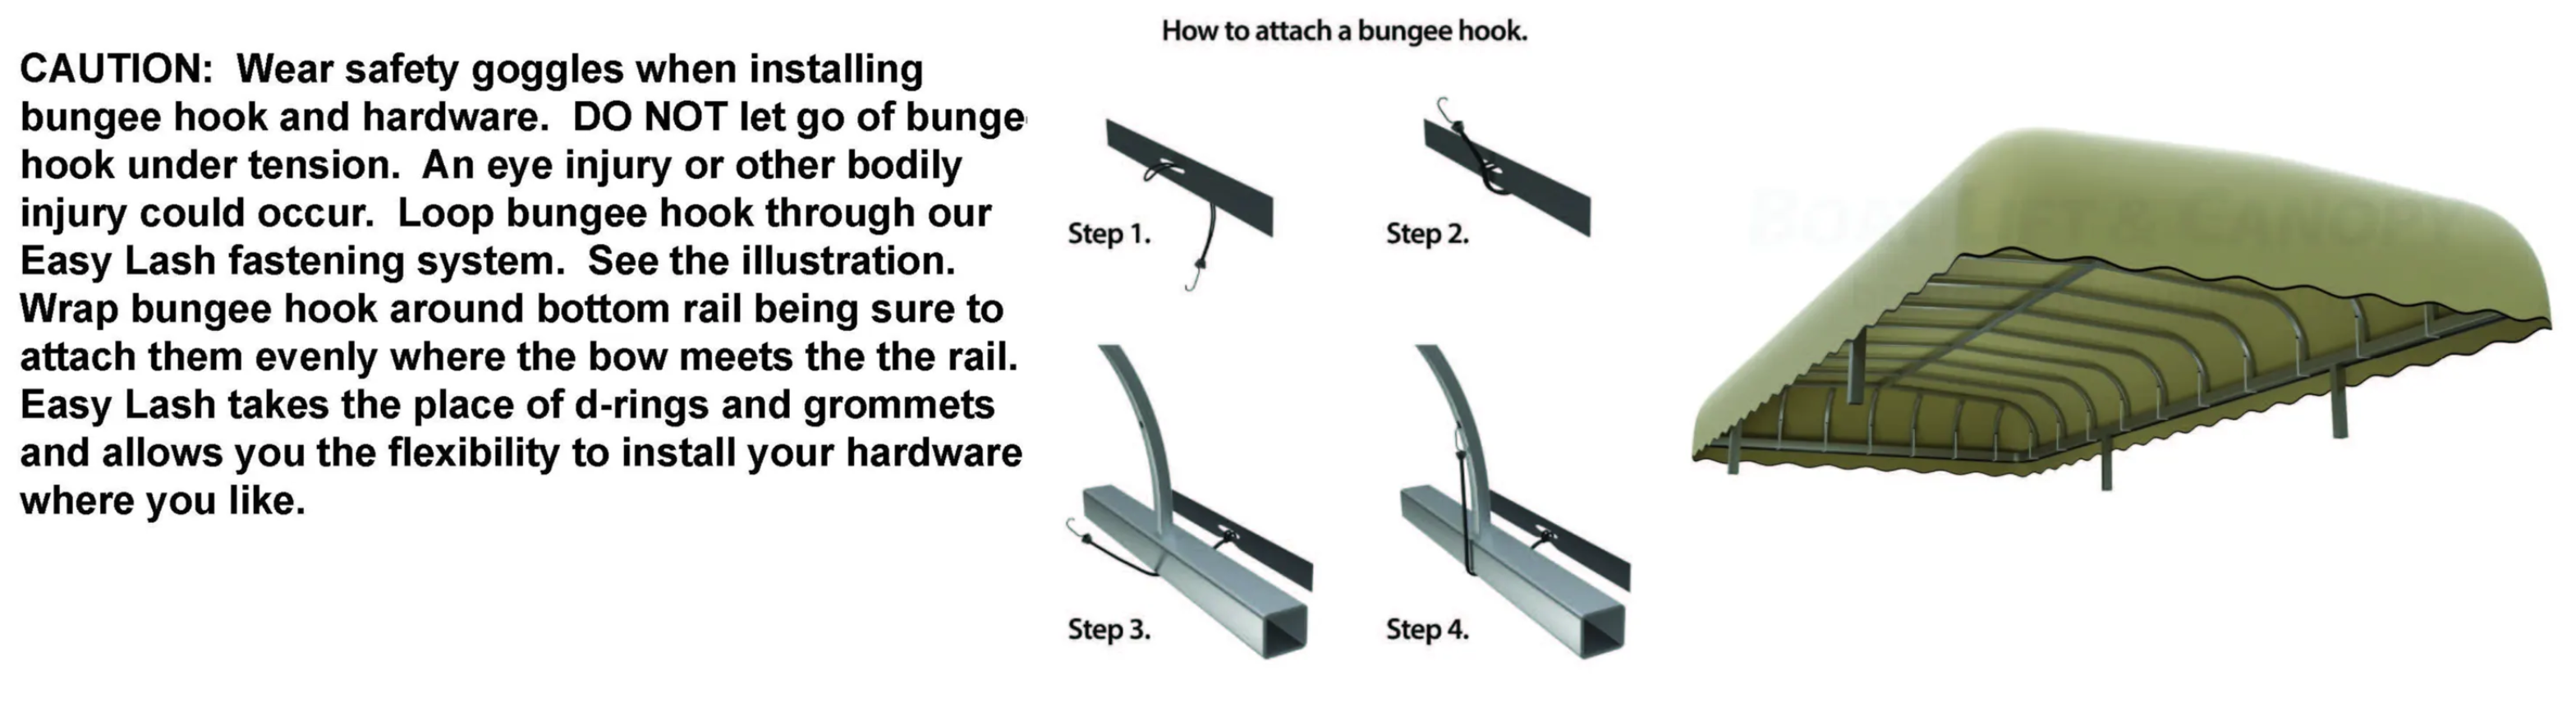
Attachment Steps for Bungee Hooks
(Daka, Dock Rite, Porta Dock, RGC, Shoreline, ShoreMaster, Vibo)
Tie down canopy covers using 10” bungee ball
Feed the end of the bungee in the canopy’s D-ring and loop through
Wrap bungee hook around rail and lift hook to the hole in canopy rib or frame
Continue this process around the frame until the cover is secure
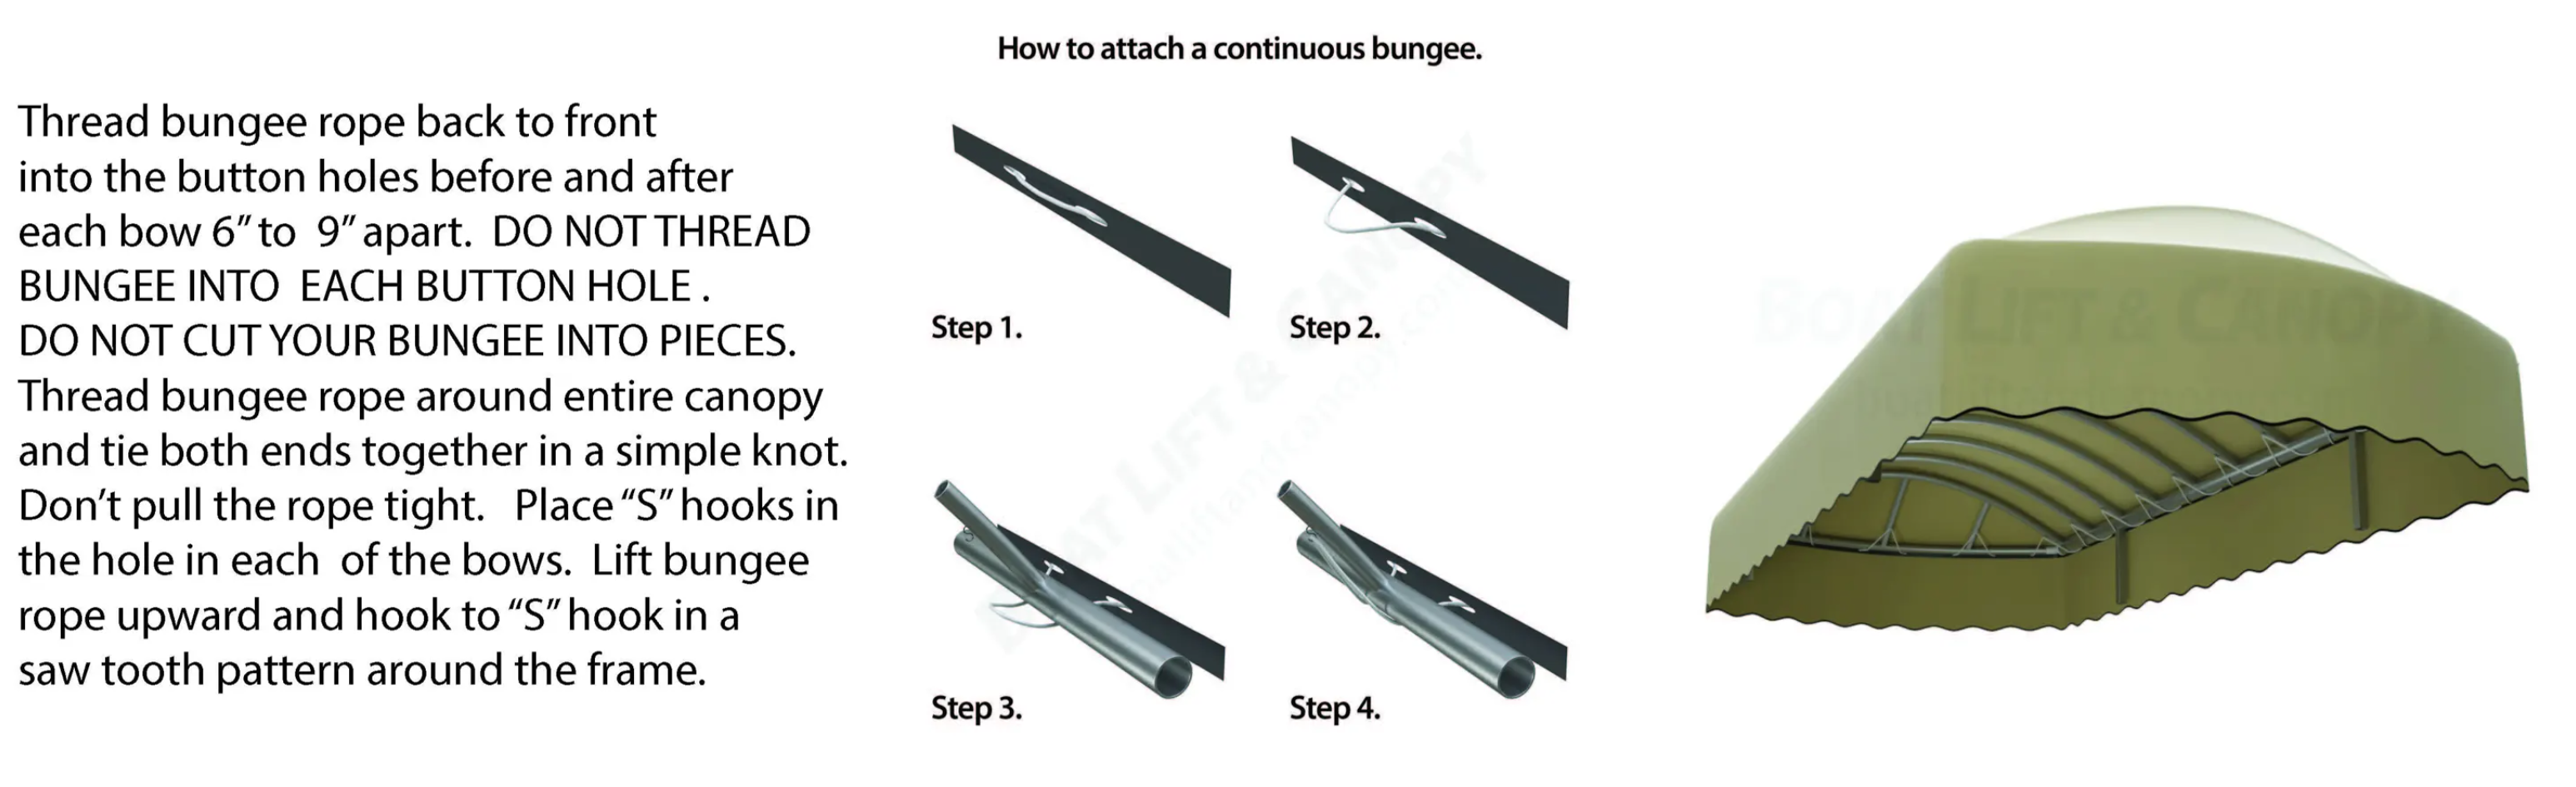
Attachment Steps for Continue Bungee
(Lakeshore Products, Newman/JB Lund, ShoreStation)
We will provide you with our universal attachment system which attaches to the frame with continuous bungee rope and "S" hooks
Thread the continuous bungee rope back to front into the EasyLash button holes, before and after each bow, 6" to 9" apart. DO NOT thread bungee into each button hole DO NOT cut you bungee into pieces.
Thread bungee around the entire canopy and tie both ends together in a simple not. Do not pull the bungee tight; make sure rope is slightly slacked but will still hold the canopy tight to the frame.
Place "S" hooks into hole in each of the canopy frame bows.
Lift the bungee rope upward and hook rope onto "S" in a saw tooth pattern around the frame.
FAQs
Q: What makes EasyLash different from traditional grommet systems?
A: EasyLash uses heat-cut slits in a durable webbing strip instead of metal grommets. This design provides more flexibility in placement and has been tested to be 25% stronger than the leading competitor’s method.
Q: Can I adjust or add attachment points after installation?
A: Yes, the pre-cut slits allow you to add or move bungee hooks or fasteners at any point along the webbing. This makes adjustments easy without the need to rework the entire setup.
Q: What attachment systems are compatible with EasyLash?
A: It works well with toggle ball bungees, bungee hooks, and continuous bungee rope methods. These options make it versatile across different boat lift canopy brands.
Q: Is EasyLash difficult to install?
A: No, it simplifies installation because you don’t need tools or grommet-setting equipment. The flexible slit design allows you to attach and adjust the canopy efficiently and securely.